Roof Skylight Installation: The Complete Guide for New Jersey Homeowners
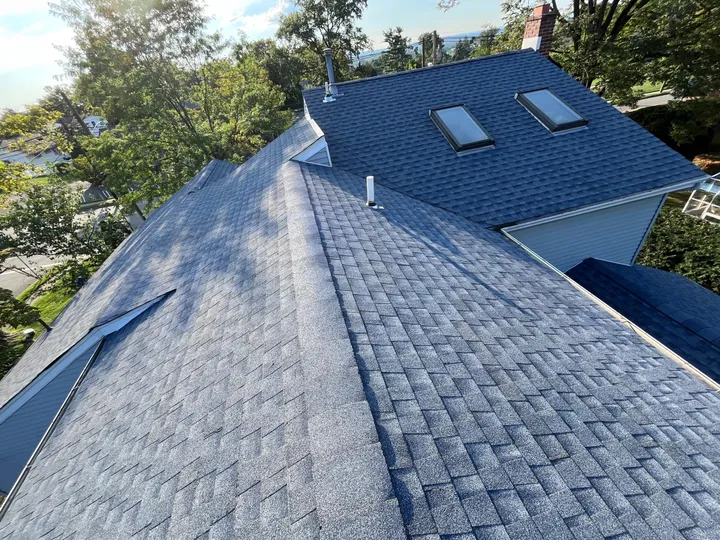
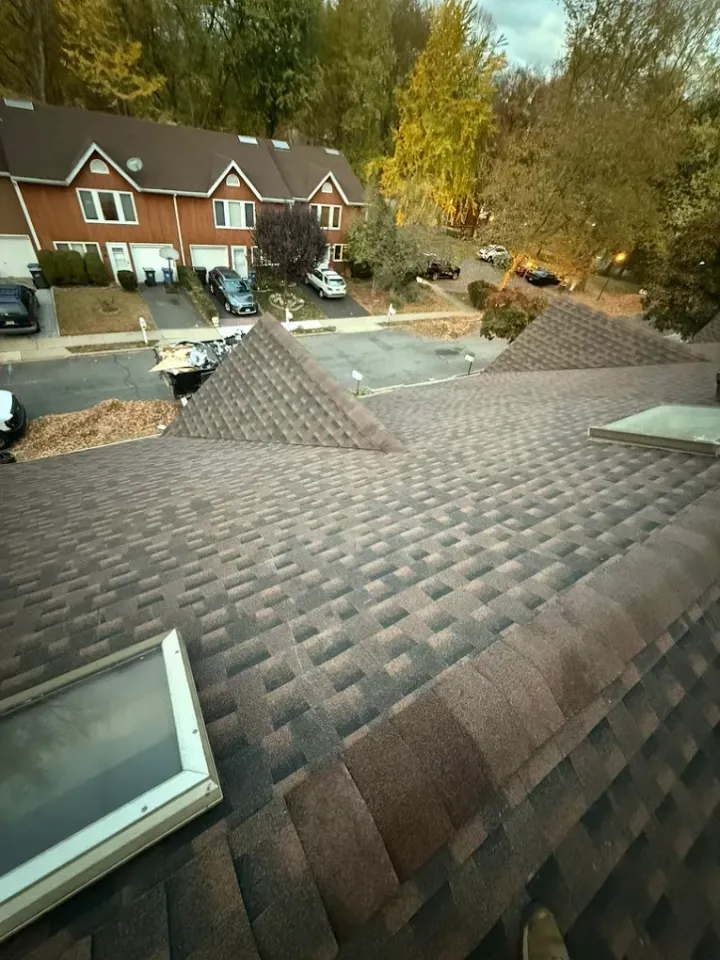
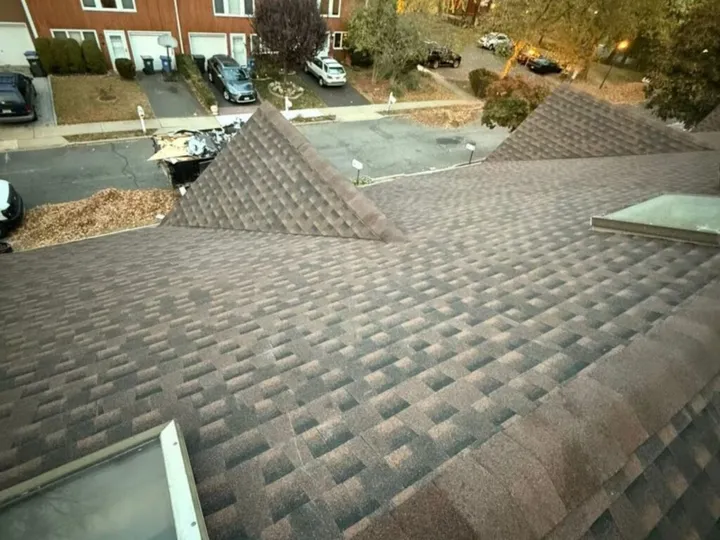
Roof skylight installation is one of the fastest ways to bring natural light into a dark attic, hallway, kitchen, or stairwell. A well-placed skylight makes a room feel larger, cuts daytime lighting costs, and gives you a view of the sky that a wall window never can. A poorly installed one does the opposite. It leaks, fogs, overheats a room, and can rot the decking around it.
The difference almost always comes down to the quality of the work around the glass: the framing, the flashing, the underlayment, and how the shingles are woven in. This guide explains how professional roof skylight installation works, what choices you’ll face, what it costs, and which mistakes to avoid. It is written for New Jersey homeowners, where the roof has to handle humid summers, nor’easters, heavy snow, and freeze-thaw cycles.
What Is Roof Skylight Installation?
A skylight is a window set into the roof. For more on the history and design of the concept, see the skylight article on Wikipedia. In practice, roof skylight installation means cutting an opening through the shingles, decking, and sometimes rafters, setting a skylight unit in that opening, and sealing it into the roof system so water flows around it and never into it.
That is why it is a roofing job first and a window job second. The glass is the easy part. The skill lies in:
- Framing the opening so the structure stays sound.
- Integrating the underlayment and waterproofing membrane.
- Installing the correct flashing kit for your roof material.
- Weaving the shingles into the flashing in the right order.
- Sealing and testing everything before the crew leaves.
A roofing contractor handles all of these steps every day. That is why roof skylight installation done by an experienced roofer tends to outlast work done by a general handyman.
7 Benefits of Adding Skylights
1. More Natural Light
Skylights admit far more daylight than a vertical window of the same size, because they face the sky directly. Rooms with no exterior walls, such as hallways, interior bathrooms, and walk-in closets, benefit most.
2. Lower Lighting Costs
Daylight can replace artificial light for much of the day, which trims electricity use in the rooms you use most.
3. Better Ventilation
Venting skylights open to let warm, stale air rise and escape. In a kitchen or bathroom, that helps control humidity and odors.
4. A Brighter, Larger Feel
Overhead light changes how a room looks. Ceilings feel higher and small rooms feel open. Even a dark attic conversion can become a bedroom people want to use.
5. Passive Solar Warmth
On cold New Jersey days, south-facing glass lets in free winter sun that can take the chill off a room.
6. A Connection to the Outdoors
Clouds, stars, and falling snow are part of the appeal. For many homeowners, that is the real reason they choose roof skylight installation.
7. Added Home Value
Bright, airy interiors are among the features buyers notice first. A well-installed skylight, backed by a good warranty, supports resale appeal.
Types of Skylights
Choosing the right type is the first big decision in roof skylight installation. The three main categories are fixed, venting, and tubular.
Fixed Skylights
Fixed skylights do not open. They are the simplest and usually the most affordable option, and they have fewer moving parts that could ever leak. They suit stairwells, high ceilings, and any room where light matters more than airflow.
Venting Skylights
Venting skylights open manually with a crank or pole, or electronically with a switch or remote. Some models include rain sensors that close the unit automatically when it starts to rain. They are a strong choice for kitchens, bathrooms, and bedrooms.
Tubular Skylights
A tubular skylight (also called a sun tunnel) uses a small rooftop dome and a reflective tube to carry light into a room below. It needs a much smaller roof opening than a standard skylight, so it works well in closets, hallways, and small bathrooms, or where rafters limit your options.
Deck-Mounted vs. Curb-Mounted
Most residential skylights are deck-mounted: the unit sits directly on the roof deck and is flashed into the shingles.** Curb-mounted** skylights sit on a raised wooden frame (a curb) built on the roof. Curb mounting is common on flat and low-slope roofs and gives water a higher barrier to cross.
Glazing, Energy Efficiency, and Comfort
Skylights are exposed to direct sun and sky, so the glass matters. Look at these features before you buy:
- Double or triple glazing: multiple panes with sealed air space reduce heat transfer.
- Low-E coatings: thin coatings reflect heat while letting visible light through, helping keep rooms cooler in summer and warmer in winter.
- Laminated or tempered glass: laminated inner panes are a common safety choice because they hold together if they break.
- Solar-control options: useful on west- and south-facing roofs that take a lot of afternoon sun.
- Energy ratings: independent ratings from the National Fenestration Rating Council let you compare U-factor and solar heat gain between products.
Matching the glass to the orientation of your roof gives the best comfort. A skylight that is perfect on a north slope may overheat a room on a west slope.
Choosing the Right Size and Placement
Bigger is not always better. Think about these factors:
- Room use. Bedrooms usually prefer softer, diffused light. Kitchens and workspaces can use more.
- Roof orientation. North-facing skylights give steady, cool light. South-facing ones bring the most light and heat.
- Framing. Skylights ideally fit between rafters. Wider openings need headers, which means more structural work.
- Ceiling shaft. Light must travel from the roof to the ceiling. A shaft that is straight, splayed, or angled changes how the light spreads.
- Distance from roof features. Keep skylights clear of valleys, ridges, chimneys, and vents. Water collects near these features and they leave less room for proper flashing.
- Furniture and glare. Think about screens and seating so you aren’t staring into bright sky all afternoon.
A site visit lets a roofer check the attic, rafter spacing, and roof pitch, and recommend a placement that gives you the light you want without compromising the roof.
How Your Roof Type Affects the Job
Roof skylight installation changes with the roofing material:
- Asphalt shingles are the most common in New Jersey. Flashing is woven between shingle courses.
- Metal roofs require flashing compatible with panels and fasteners.
- Tile and slate need careful handling because the material is brittle and the flashing must be adapted to its profile.
- Cedar shakes need flashing that respects the thickness and texture of the shake.
- Flat or low-slope roofs typically use curb-mounted skylights with membrane roofing tied into the curb.
The age of your roof matters too. If the roof is near the end of its life, it often makes sense to coordinate skylight work with a roof replacement. That way the new skylights are flashed into fresh shingles and you don’t tear the roof open twice.
Step-by-Step Roof Skylight Installation
Every project differs, but a professional roof skylight installation usually follows this sequence.
- Mark the opening. The crew locates the position from inside the attic, transfers it to the roof, and marks the cut so the unit sits between rafters where possible.
- Remove shingles. Shingles around the opening are carefully lifted and set aside so the area can be rebuilt properly.
- Cut the opening. The decking is cut to the size the manufacturer specifies. If a rafter must be cut, headers are added to carry the load.
- Frame the opening. New framing creates a solid, square, level support for the skylight.
- Install underlayment and membrane. Self-adhering waterproof membrane is applied around the opening, lapping over the deck as the manufacturer directs.
- Set the skylight. The unit is placed, checked for level and square, and fastened according to the manufacturer’s instructions.
- Flash the unit. Bottom, side, and top flashing pieces are installed in the correct order (more on this below).
- Rebuild the shingles. New and existing shingles are woven into the flashing so water is directed over every layer.
- Build the light shaft. Inside, the crew frames and finishes the shaft from the roof opening to the ceiling, insulating it to prevent condensation and heat loss.
- Finish and test. Drywall, trim, and paint complete the interior. The crew checks for leaks, operation of venting units, and clean seals.
Skipping or rushing any of these steps shows up later as a drip stain on the ceiling.
Flashing: The Part That Keeps It Dry
Flashing is the heart of roof skylight installation. It is the system of metal or manufactured pieces that channel water around the skylight. A typical kit includes:
- Sill (bottom) flashing, which sheds water that runs down the roof toward the lower edge of the unit.
- Step flashing along each side, installed in pieces that overlap each shingle course.
- Head (top) flashing, often with a saddle or cricket, that diverts water around the top of the unit.
- Counter-flashing or trim, which covers the edges to protect against wind-driven rain.
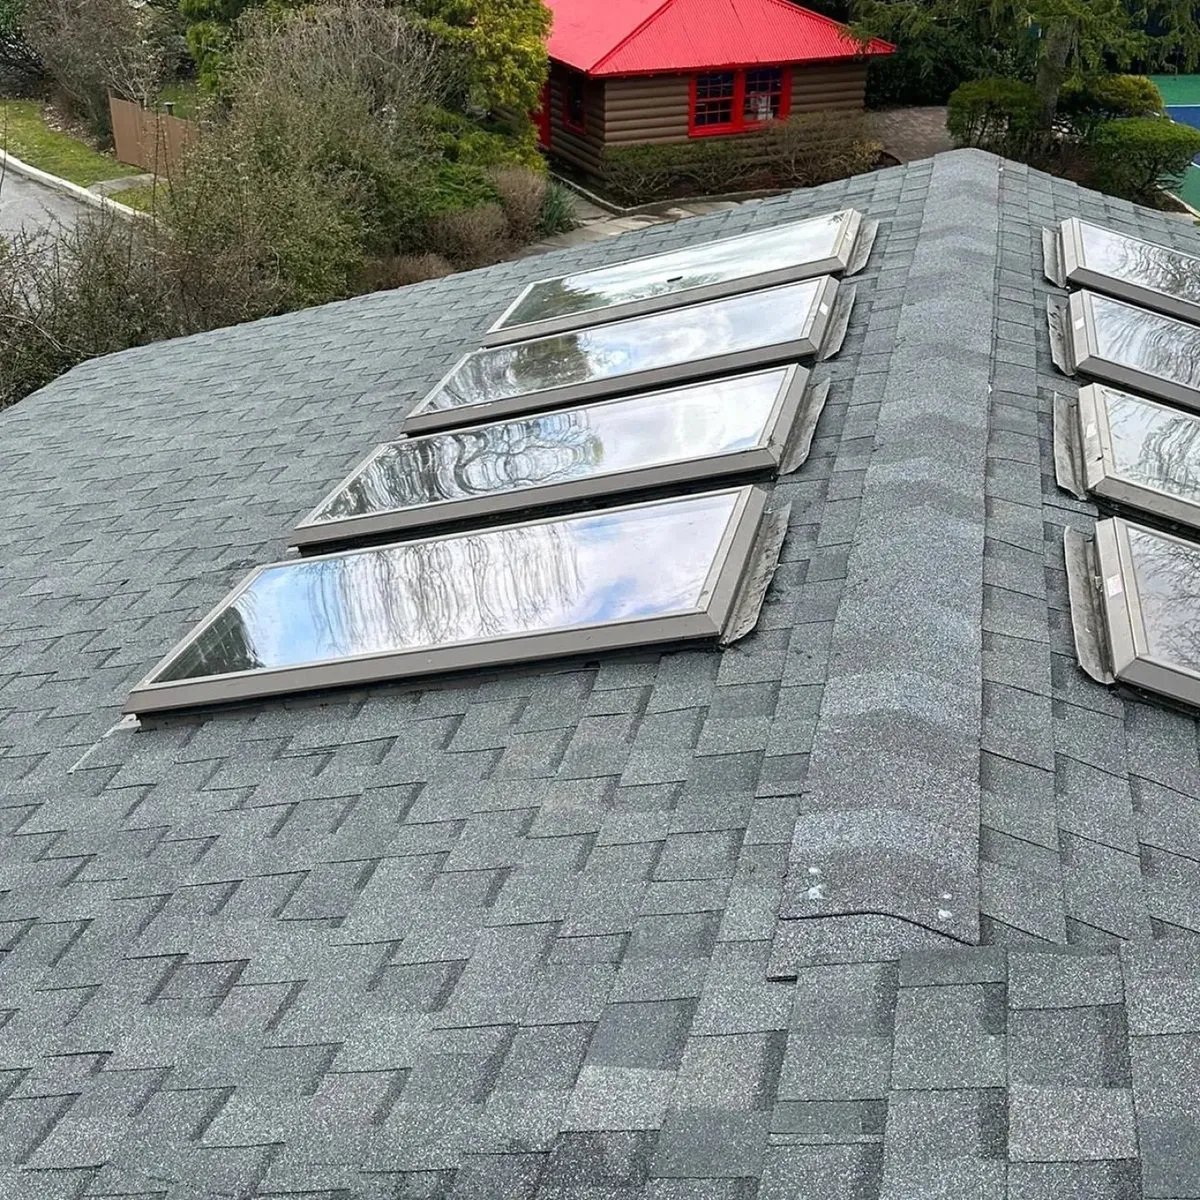
The order matters. Water must always flow from upper pieces over lower ones, like fish scales. When several skylights sit in a row, each unit needs its own complete flashing, and the shingles between them must be carefully integrated so water can’t find a path.
Sealants are a backup, not the main defense. A roof relying on caulk alone is a roof waiting to leak. If you see heavy sealant smeared around a skylight, that may be a sign of a repair that never addressed the real problem.
If you already notice a problem, our team offers roof repair and flashing repair for skylights, chimneys, vents, and more.
Replacing an Old or Leaking Skylight
Not every skylight project starts with a new opening. Sometimes you are dealing with an old unit that no longer performs. Warning signs include:
- Water stains on the ceiling or on the walls of the light shaft.
- Fogged glass between the panes, which means the seal has failed.
- Cracked, crazed, or yellowed glazing or domes.
- Rusted, lifted, or bent flashing.
- Drafts, condensation, or noticeable heat gain.
- Venting units that jam or won’t close fully.
Many leaks blamed on the glass actually come from the flashing, so a good contractor inspects the whole assembly before recommending a fix. Options include:
- Reflashing the existing unit, which may be enough if the glass is sound.
- Replacing the glass or dome when the unit still fits and the frame is healthy.
- Full replacement of the skylight with a new unit and new flashing, which is often the best long-term choice for older products.
If a skylight is actively leaking, don’t wait for the next storm. Our emergency roofing service is available around the clock for tarping and urgent repairs.
Common Mistakes to Avoid
- Using the wrong flashing kit. Kits are designed for specific skylight models and roof types.
- Relying on sealant instead of flashing. Caulk dries, cracks, and fails.
- Placing skylights too close to valleys or chimneys. Water concentrates there.
- Ignoring the attic side. Poor shaft insulation and no vapor control lead to condensation.
- Choosing the wrong glass for the orientation. A west-facing room without solar control can become uncomfortably hot.
- Cutting structure without headers. Removing a rafter without proper framing weakens the roof.
- Installing on a worn-out roof. New skylights on old shingles create two projects when one would do.
- Hiring on price alone. Roof skylight installation is cheap to do badly and costly to fix.
What Affects the Cost of Roof Skylight Installation
Prices vary widely, so be wary of a flat number quoted over the phone. The main cost drivers are:
- Skylight type and size. Fixed units cost less than venting or electric ones. Tubular models are typically the least expensive.
- Glazing options. Low-E coatings, laminated glass, and solar-control upgrades add cost but improve performance.
- Roof material and pitch. Tile, slate, and steep roofs take more time and safety equipment.
- New opening vs. replacement. Cutting a new opening takes framing, a light shaft, and interior finishing. Swapping a unit in an existing opening is usually simpler.
- Number of units. A row of skylights costs more than a single unit but can be more efficient per unit, since the crew is already set up.
- Interior finishing. The shaft, drywall, paint, and trim are part of the project.
- Permits and inspections where required.
- Roof condition. Repairs to decking or damaged shingles add to the total.
The best approach is a written estimate that itemizes materials, labor, and finishing. That makes it easy to compare offers fairly. ALL PRO Roofing provides free, no-pressure estimates, which you can request through our free estimate page.
DIY vs. Hiring a Professional
Some homeowners consider installing a skylight themselves. The reality is that roof skylight installation combines several risky tasks: working at height, cutting structure, flashing, and interior finishing. Mistakes are common, and many are hidden until the first heavy rain.
Hiring a professional gives you:
- Safety, since the crew has the equipment and training for roof work.
- Correct flashing and integration with your specific roof.
- Warranty protection. Manufacturers often require proper installation for warranty coverage, and a licensed contractor adds workmanship coverage.
- Speed. An experienced crew can often finish in a day or two, depending on scope.
- Clean results, inside and out.
If you enjoy DIY, consider the tubular option only after checking your roof type and warranty terms. For a standard skylight, a licensed roofer is the safer investment.
Maintaining Your Skylights
Skylights need little care, but a few habits extend their life:
- Clean the glass with mild soap and water, a couple of times a year.
- Clear debris such as leaves, branches, and dirt from the flashing and the area above the unit, so water isn’t forced to pool.
- Inspect after major storms for lifted flashing, cracked glass, or loose shingles.
- Check inside for staining, condensation, or mold around the shaft.
- Test venting units and lubricate moving parts as recommended.
- Schedule a roof inspection every few years, especially if your roof is older.
Catching a small flashing problem early costs far less than repairing ceiling and insulation damage later.
Why Homeowners Call ALL PRO Roofing for Skylights
ALL PRO Roofing is a family-owned New Jersey contractor with 40 years of combined experience and more than 1,500 roofs replaced. Because skylights sit at the intersection of roofing, flashing, and interior finishing, they are a natural fit for a crew that handles roof repair, roof replacement, chimney, gutter, and masonry work every day.
Here is what homeowners can expect:
- Licensed and insured professionals.
- Free estimates with a no-pressure, in-home visit.
- 24/7 availability for emergencies.
- Experience with all roof types: shingles, tile, cedar, metal, and flat roofs.
- Trusted manufacturers, including GAF, CertainTeed, Tamko, and Owens Corning products.
- Honest advice, including when repairing your existing skylight is smarter than replacing it.
We serve communities across the state. You can see where we work on our locations page, and explore the full range of roofing services we offer.